Introduction to GstarCAD Express Tool: AUTOLAYER

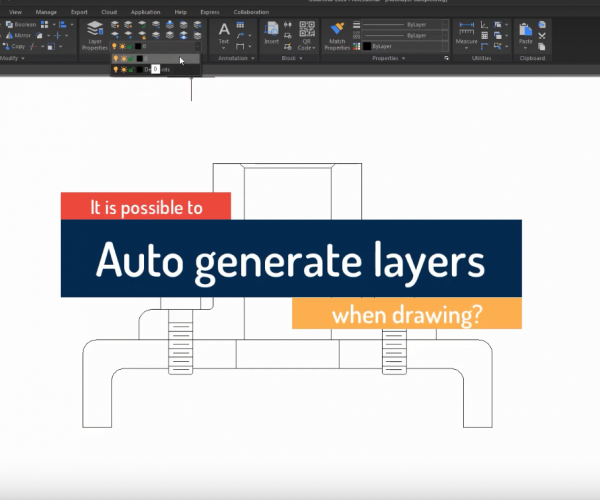
How AUTOLAYER works?

The AUTOLAYER predefines the association between object type and the layer that should be created in a drawing.

The CAD system automatically switches to the current layer while drawing the graphics and draws the graphics on the set layer. If the specified layer doesn’t exist, the CAD system will automatically create this layer based on the settings.

How to access the AUTOLAYER?

  1. Enter AUTOLAYER, as shown in the following picture, then press Enter key,

2. Find the “Enable Autolayer” icon at the bottom of GstarCAD, as shown in the following picture,

Introduction to the Autolayer dialog box

The following picture shows the Autolayer dialog box,

* The Autolayer list displays the command name and the corresponding automatic layer settings.

* The first icon at the top left corner, as shown in the following picture,

 creates a layer setting including the command name and the corresponding layer settings.

* The second icon at the top left corner, as shown in the following picture,

deletes one or more selected Autolayer settings.

* After checking the “Enable Autolayer” at the top right corner of the dialog box, the CAD system will automatically assign the layer based on the settings when drawing; if it remains unchecked, it won’t work.

* The “Save Settings” saves your current settings into a text file.

* The “Load Settings” will open the “Load Autolayer Settings” and in this dialog box, users can load and read previously saved setting file by the user.

* The “Clear Settings” clears all current auto layer settings.

Please note that the current settings only work for the drawing being currently edited.

Check the video about Autolayer

GstarCAD Blog

www.gstarcad.net

Related Posts

The Ultimate Guide to GstarCAD Mechanical 2026: The Future of Manufacturing Design

GstarCAD Mechanical 2026 drafting/design software, covers all fields of mechanical design.

GstarCAD 2026 DWG Comparison: Boost Design Efficiency

GstarCAD 2026 has introduced a new DWG Compare tool designed to eliminate the manual effort of identifying revisions between drawing versions. By using the COMPARE command, the software automatically highlights additions in red, deletions in green, and identical elements in gray using revision clouds. This feature streamlines the proofreading process for architects and engineers, allowing for instant visual verification of changes across any DWG file.

Leave a Reply

Don't Miss out

Gstarsoft Showcases Integrated CAD + BIM Solutions at BIM World Paris 2026

  • April 3, 2026
Gstarsoft Showcases Integrated CAD + BIM Solutions at BIM World Paris 2026

Boost CAD Productivity with GstarCAD 2026’s XTP Import Feature

  • March 24, 2026
Boost CAD Productivity with GstarCAD 2026’s XTP Import Feature

Case study: How TopenTech Optimized Equipment Diagnostics and Field Productivity with GstarCAD

  • March 9, 2026
Case study: How TopenTech Optimized Equipment Diagnostics and Field Productivity with GstarCAD

The Ultimate Guide to GstarCAD Mechanical 2026: The Future of Manufacturing Design

  • January 30, 2026
The Ultimate Guide to GstarCAD Mechanical 2026: The Future of Manufacturing Design

GstarCAD 2026 DWG Comparison: Boost Design Efficiency

  • January 16, 2026
GstarCAD 2026 DWG Comparison: Boost Design Efficiency

How to Calculate CAD Area Quickly?

  • December 25, 2025
How to Calculate CAD Area Quickly?

Discover more from Gstarsoft's Blog

Subscribe now to keep reading and get access to the full archive.

Continue reading