Many users wonder how they can remove the redundant part of an image to be inserted, such as a company logo, a plant or a building.
CAD has provided CLIP command which can be used to clip company logo, which is relatively regular in shape. But when it comes to a plant, a person or building, it would be much more inconvenient to use the CLIP command. In this case, a graphics editor such as Photoshop by Adobe Company is a good choice.
- Use the graphics editor software to make the image transparent
CAD system recognize this transparency, so the next step is to insert the image
2. Insert image and set the transparency
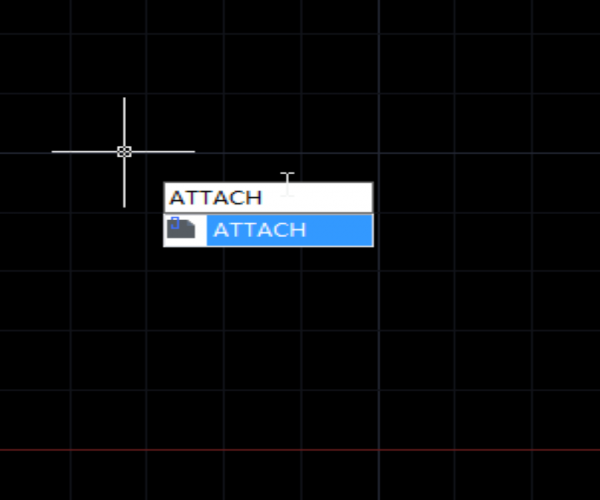
Execute the ATTACH command or IMAGEATTACH command, and browse the image and select the image, as shown in the following picture,

In the popped up dialog box of “Attach Image”, if we want to insert the image by 1:1, then uncheck the “Specify On-Screen”, as shown in the following picture,

After setting the parameters, click OK to close the dialog box and specify insertion point,

After selecting the newly-inserted image, we can see the “Background transparency”, we can set the transparency there,

The image may have rectangular boundary. We can hide it by entering IMAGEFRAME or FRAME, then press Enter key, input 0, press Enter to hide it.


Discover more from Gstarsoft's Blog
Subscribe to get the latest posts sent to your email.


