For design teams, standardized CAD configurations and efficient resource reuse directly impact both workflow productivity and drawing quality. In daily design scenarios, many teams face common challenges: fragmented tool palettes across team members, inconsistent design standards, the tedious task of reconfiguring blocks and text when switching devices, and the steep learning curve for new employees to set up their design environments.
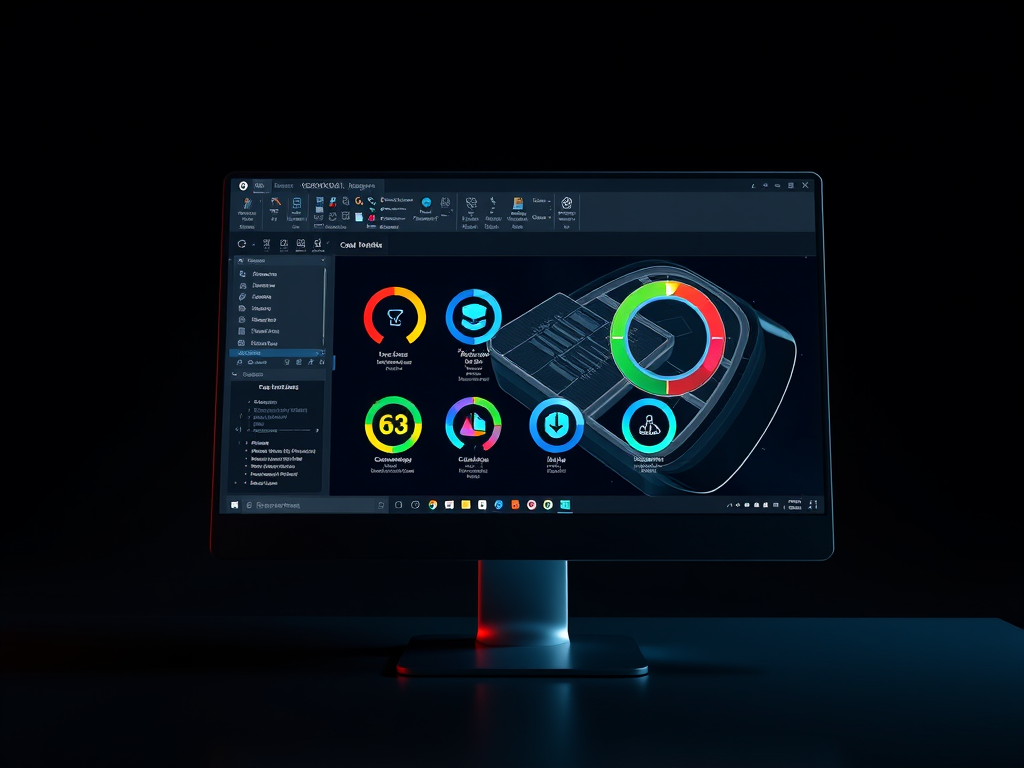
To address these pain points, GstarCAD 2026 introduces the XTP File Import feature. This allows for one-click loading and rapid migration of custom toolsets, eliminating repetitive configuration, boosting collaborative efficiency, and unifying design standards across the organization.
Core Feature Highlights
The XTP import function in GstarCAD 2026 focuses on streamlining operations to maximize team output:
- Unified Design Standards: Centrally manage frequently used block references (e.g., doors, windows, and furniture for architecture; bearings and gears for mechanical design) and text content (technical requirements, material notes, title block text) to ensure every team member uses identical design elements.
- Seamless Configuration Migration: Effortlessly migrate setups to new devices, saying goodbye to the cumbersome process of manual reconfiguration.
- Enhanced Collaborative Efficiency: Solve the problem of scattered tool configurations and low reuse rates. By reducing setup time, designers can stay focused on the creative process itself.
How to Configure Your Tool Palettes
GstarCAD provides two ways to set up your environment: creating custom palettes or importing existing files.
1. Creating Custom Palettes
- Step 1: Open the Tool Palette In the GstarCAD 2026 interface, navigate to the menu bar: View → Palettes → Tool Palettes, or use the shortcut Ctrl+3.
- Step 2: Customize Your Toolset
- Add Block References: Simply left-click a block and drag it into the Tool Palette.
- Set Text Styles: Use the “Add Text” function to preset common technical notes or title block information.
- Categorized Management: Create different tabs (e.g., “Architectural,” “Mechanical,” “Common Annotations”) to organize your tools logically.
2. Importing XTP Files
- Open the Tool Palette and right-click in any blank area.
- Select “Import…” (or “Import XTP…”).
- Browse and select the desired XTP file.
- Confirm the import to instantly load the complete custom toolset.
Pro Tip: We recommend that enterprises establish an XTP File Library categorized by discipline or project type. This allows team members to load specific toolsets as needed, further driving efficiency.

Typical Application Scenarios
- Scenario 1: Standardizing Team Collaboration Design institutes and firms can use standardized XTP files as the “Grand Standard.” Whether it’s architectural symbols or mechanical technical requirements, having every designer import the same file ensures high consistency and reduces the cost of post-production corrections.
- Scenario 2: Cross-Platform Migration When designers upgrade hardware or a team transitions from another CAD platform to GstarCAD 2026, there is no need to rebuild the environment from scratch. Importing local XTP files restores familiar interfaces and tools instantly, ensuring a seamless transition.
- Scenario 3: Training and Onboarding Provide new hires with a pre-configured XTP file containing company design specifications. With a one-click import, new employees can immediately use tools that comply with company standards, significantly shortening their adaptation period.
For industrial design teams, efficient and standardized tool configuration is the foundation of synergy. GstarCAD 2026’s XTP import feature bypasses complex gimmicks to focus on practical needs. It uses simple operations to help teams eliminate repetitive tasks and achieve standardized, high-efficiency collaboration.
Download GstarCAD 2026 today to experience the latest features and empower your team to focus on core creation!


