The Navicube in GstarCAD is a navigation tool that enhances the user experience by providing an intuitive way to navigate through 3D models and drawings.
What is navicube?
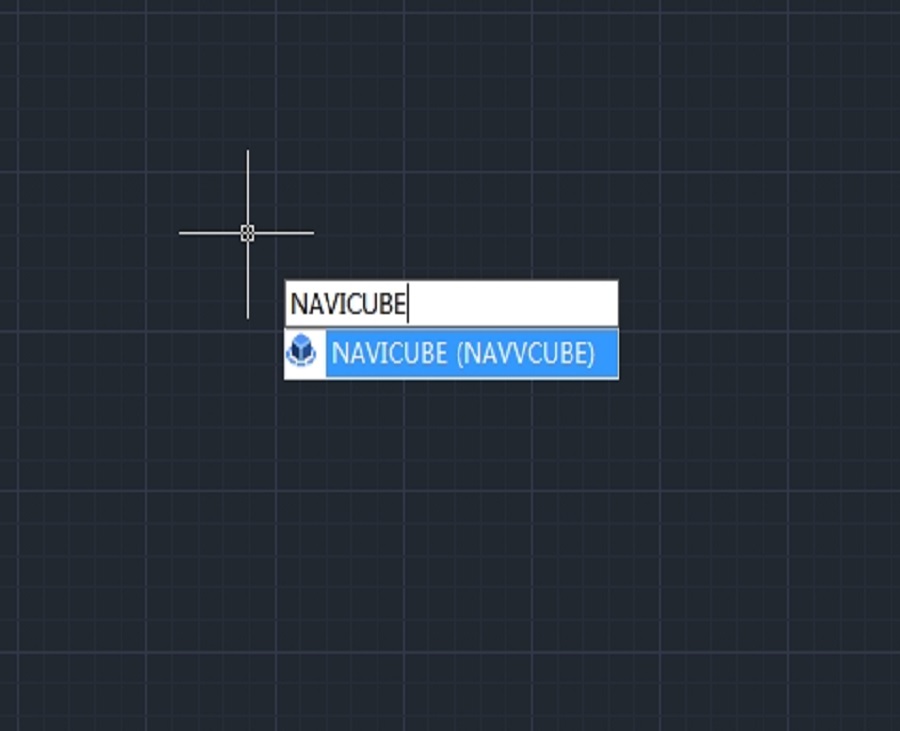
The NaviCube is a navigation tool that is displayed when you are working in 2D model space or 3D visual style, which allows switching between standard and isometric views easier. It consists of a cube, compass and options, is draggable and clickable, and supports switching to any available preset views, rolling the current view, or setting the current view as the Home view. You can enter the NAVICUBE command, or click Ribbon View 3D Tool NaviCube to control whether to display the NaviCube in the drawing area. When the value is ON, the NaviCube is displayed, when the value is OFF, the NaviCube disappears.

Appearance of the NaviCube
The NaviCube is displayed in one of two states: inactive and active. When your cursor is not touching the NaviCube, it’s inactive, it appears partially transparent by default so that it does not obscure the view of the model. When you move the cursor over it, it becomes active, it is opaque, so the view of the objects in the current view of the model may be obscured. And you can other properties of the NaviCube within the Settings option.

Cube
It is located in the top right corner of the drawing area above the model and shows the current viewpoint of the model. When you move the cursor over it, you can click on the faces, corners, or edges to conveniently change the views, as well as click on the cube and drag it to roll the current view.

Compass
The compass is displayed below the NaviCube and indicates the north direction as defined for the model. You can click any of the directional letters on the compass to rotate the model.

When the view is “Front” “Back” “Left” or “Right”, some little triangle buttons will display around the cube, which allow you to switch between adjacent views by clicking them.
* When clicking the triangle button at the right or left side, the view is switched to its right or left adjacent view. So, you can continuously switch between different views and rotate the navigation cube horizontally by clicking these two buttons.

* When clicking the triangle button at the top or bottom side, the view is switched to top or bottom view. The top and bottom triangle buttons can only be clicked once.

* When clicking the triangle button at corners, the view is switched to the edge view of two adjacent views. The corner triangle buttons can only be clicked once.

Options Menu
Home: Changes to Home view
NaviCube Settings: Opens NaviCube Setting window
· On-screen: Identifies the in the viewport where the NaviCube is displayed.
· Navicube size: Specifies the size of the NaviCube.
· Inactive Opacity: Controls the opacity of the NaviCube when inactive.
· Show UCS Menu: Controls the display of the UCS drop-down menu.
· Zooms to extents after view change: Specifies if the model is forced to fit the current viewport after a view change.
· Orient Navicube to current UCS: Controls whether the NaviCube reflects the current USC or WCS.
· Show compass below the Navicube: Controls the whether the compass is displayed below the NaviCube tool.
· Restore Default: Restore NaviCube settings to default values.
3D views: Displays view control list.
Coordinated system: Controls coordinate system.
Upside down: Changes to the view side which is parallel to the current view side.
90°Clockwise: Rotates 90 degrees clockwise.
90°Counter Clockwise: Rotates 90 degrees counterclockwise
Right-click Menu
* Home: Goes back to Home view
* Set Current View as Home: Specifies the current view as the
Home view.
* NaviCube Settings: Opens the NaviCube Setting window.
* Help: Open Online Help system, Home > Commands > N >
NAVICUBE command.

Discover more from Gstarsoft's Blog
Subscribe to get the latest posts sent to your email.


