How to create a series of dimensions with QDIM command?

Have you ever wanted to dimension a series of circles or arcs using one command? QDIM is that one command that creates a series of baseline or continued dimensions or dimensions a series of circles and arcs, which greatly improves the drawing efficiency.

Where to find and how to use QDIM

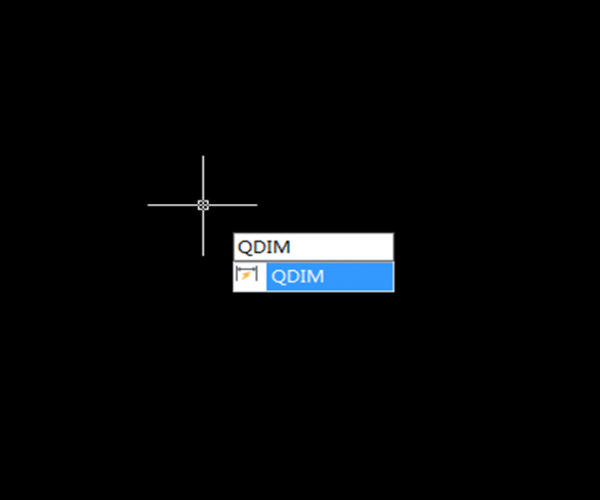
  1. Enter QDIM, and press Enter key,

Or Find Dimension > Quick Dimension in the menu, as shown in the following picture,

2. Select the geometry to dimension and press Enter key

3. Specify dimension line position, or [Continuous/Staggered/Baseline/Ordinate/Radius/Diameter/datumPoint/Edit/seTtings], as shown in the following picture, then press Enter key,

4. Then specify dimension line position

5. Users can always use ESC to interrupt the command.

The use of QDIM in creating different types of dimensions

  1. Continuous

Creates a series of continued dimensions, as shown in the following picture,

2. Staggered

Creates a series of staggered dimensions, as shown in the following picture,

3. Baseline

Creates a series of baseline dimensions where linear dimensions share a common extension line, as shown in the following picture,

4. Ordinate

Creates a series of ordinate dimension, as shown in the following picture,

5. Radius

Creates a series of radial dimensions, as shown in the following picture,

6. Diameter

Creates a series of diameter dimensions, as shown in the following picture,

7. Datum point

Sets a new datum point for baseline and ordinate dimensions.  After specifying new datum point as prompted to, we’ll go back to the last prompt.

8. Edit

Enable changes to a series of dimension points, including adding or deleting dimension points, as shown in the following picture,


Discover more from Gstarsoft's Blog

Subscribe to get the latest posts sent to your email.

GstarCAD Blog

www.gstarcad.net

Related Posts

Top 5 Essential GstarCAD Shortcuts for Designers

In the process of drawing and editing with GstarCAD, mastering basic functions and shortcuts can significantly reduce redundant operations while improving drawing precision and efficiency. The five features—Ctrl+3 (Tool Palettes),…

Common Methods for Inserting Images in GstarCAD

In professional CAD workflows, integrating raster images—such as site maps, reference sketches, or interior renders—is essential for visualization and project coordination. However, choosing the wrong insertion method can lead to…

Leave a Reply

Don't Miss out

Why Cloud Matters for CAD: From Standalone Drafting to Connected Workflows

  • July 15, 2026
Why Cloud Matters for CAD: From Standalone Drafting to Connected Workflows

Design Intelligence for an Integrated Future: Gstarsoft Strengthens Its Open CAD+BIM+AI Ecosystem

  • June 19, 2026
Design Intelligence for an Integrated Future: Gstarsoft Strengthens Its Open CAD+BIM+AI Ecosystem

GstarCAD 2027: Unleashing Performance and Innovation for Modern Engineering

  • June 11, 2026
GstarCAD 2027: Unleashing Performance and Innovation for Modern Engineering

The Intersection of Art and Efficiency: A49’s Digital Evolution with GstarCAD

  • June 4, 2026
The Intersection of Art and Efficiency: A49’s Digital Evolution with GstarCAD

Top 5 Essential GstarCAD Shortcuts for Designers

  • May 29, 2026
Top 5 Essential GstarCAD Shortcuts for Designers

Common Methods for Inserting Images in GstarCAD

  • May 22, 2026
Common Methods for Inserting Images in GstarCAD

Discover more from Gstarsoft's Blog

Subscribe now to keep reading and get access to the full archive.

Continue reading

Discover more from Gstarsoft's Blog

Subscribe now to keep reading and get access to the full archive.

Continue reading