1.Sometimes we need to create dynamic blocks for later use, but how to do, I have summarized detailed step-by-step guide.
Start your CAD software and create a new file in your system, enter rec (command for rectangle), l (command for line) and a (command for arc) to drawing a flush door.
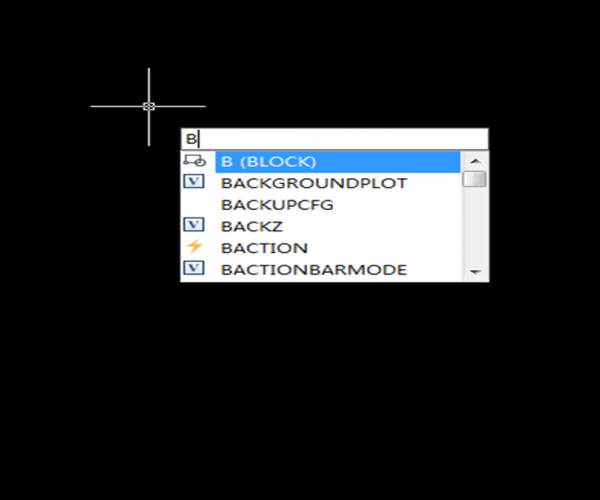
2. Enter b to execute the Block command, set the object that we drew as block, names “door”

3. Select Tools>Block editor>edit block definition dialog box, select the door object that we defined, click OK to confirm your action to open block edit window and at the same time the door object will be opened in a new viewport.


4. In Block Editor panel, choose the “ Liner” and “Rotation” in the Parameters to add a linear parameter and a rotation parameter to the block definition, as shown in the following picture,


5. Choose “Scale” under the Action in the Block Editor panel, then select the linetype according to the Command line prompts, when the system prompts you to select an object, just select the door object and press Space key to confirm.
6. Using the same method to create dynamic revolving of the door object.
7. In the block editor window, click upper left corner save block definition button, and exit the block editor, select several characteristic points of the created dynamic block.
8. Drag the characteristic points of the triangle on the left to zoom the door object as you want: turn off the orthogonal mode, select the characteristic points in the circle to revolve to certain angles as you want. OK, dynamic door has been created and click to save your work.
The above are process of the creation of dynamic block, it’s simple, you can try for yourself.
Join our discord community!
Connect with CAD experts, share technical insights, and get real-time support from the global community.
Join Discord ServerShare & Get a $10 Amazon Gift Card
Share your honest GstarCAD feedback and get a chance to win a $10 Amazon gift card.
Write a ReviewDiscover more from Gstarsoft's Blog
Subscribe to get the latest posts sent to your email.


