There are two ways to create hatch: Pick points and Select objects. Users prefer to pick points when hatching, because the area that we are going to hatch is normally a closed area enclosed by several graphic objects.
The picking point should be within the hatch area and it seems to make no difference as to where to choose the picking point. However, if we are to adjust the hatch boundary, then where to choose the picking point will actually make a difference.
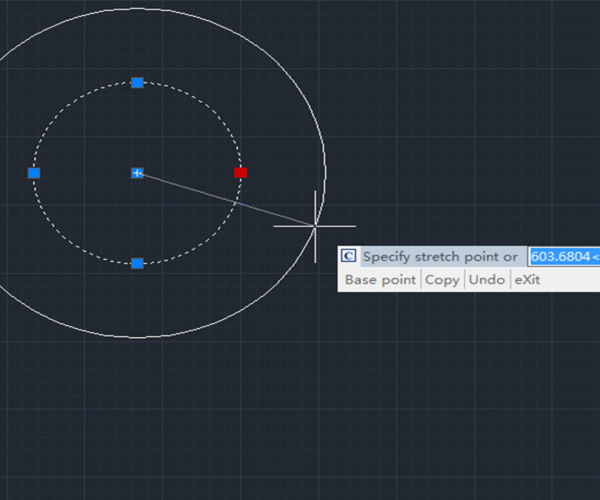
Let’s see how picking different points makes a difference to the hatch, as shown in the following,

Through the observation above, we can find that when creating a fill by picking points, the position of the pick point will be recorded as the positioning point of the fill. When we adjust the boundary, the fill will be searched with this point as the center Filled range, this is also called filled hotspot.
We rarely adjust the padding borders this way, so we rarely encounter such problems. After understanding this characteristic of the pick point, we can consciously pick a more suitable position when filling. Even if you don’t pay attention to the position of the pick point when filling, if the filling area changes to another position after adjusting the associated boundary line, we will know what the reason is, and it won’t be surprising.
Discover more from Gstarsoft's Blog
Subscribe to get the latest posts sent to your email.


