Why Symmetric Draw is useful?
CAD software is widely used in industries such as the AEC and MFG industry where symmetric drawing shapes are essential. The common way to make a a symmetric shape is to draw the first half of the shape and then get a whole shape by Copy or Mirror.
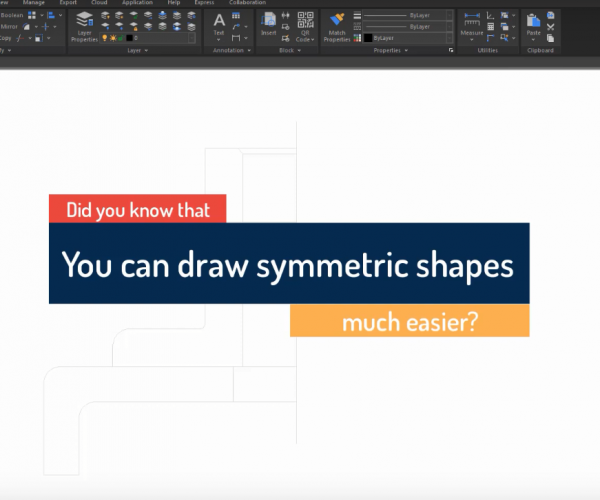
With Symmetric Draw in GstarCAD, things got much easier. We can directly draw symmetric shapes. That is to say, when we draw the fist half, you got another half automatically drawn. No need to copy or mirror.
How to access the Symmetric Draw
To switch Symmetric on/off, just click the Enable Symmetric Draw button in the Status Bar, as shown in the following picture,

How to set up the Symmetric Draw?
If we want to custom the settings of Symmetric Draw, just right-click it in the Status Bar, then select “Settings”, as shown in the following picture,

Then Drafting Settings dialog box will pop up, as shown in the following picture,

The default symmetric axis is X axis, but we can check the circle icon of Custom to select symmetric axis, as shown in the following picture,

We can also choose objects that we want them to have symmetric shape by checking the box, as shown in the following picture,

Symmetric Axis comparison: X-Axis VS Y-Axis


Check the video tutorial:
Discover more from Gstarsoft's Blog
Subscribe to get the latest posts sent to your email.


