In CAD (Computer-Aided Design) software, text is a crucial element that you add to CAD drawings to label, annotate and communicate important design information.
Creating text in CAD software generally involves single and multiline text. We can create short and simple single-line text and multiline text that enables richer formatting.
Create Single-line Text
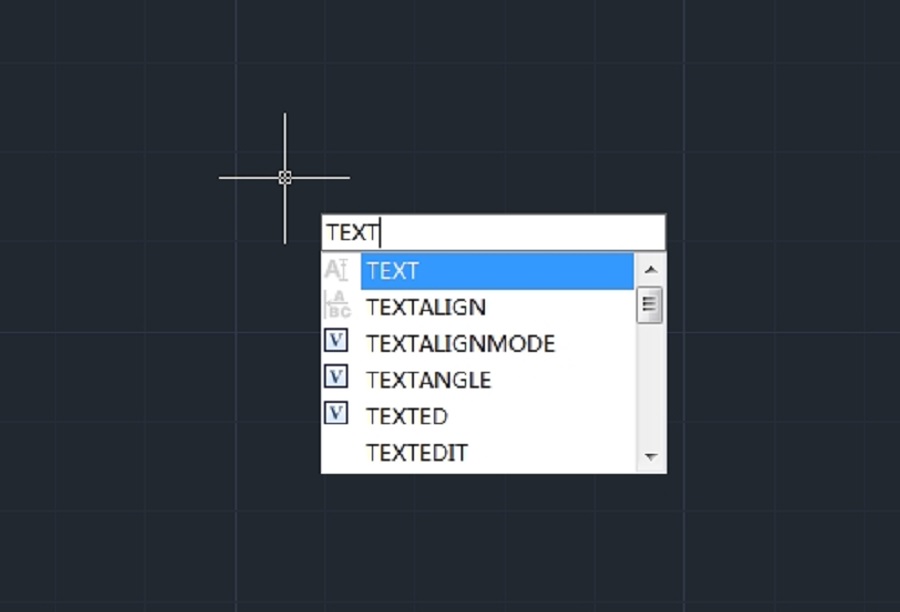
You can use TEXT command to create a single or multiline text. Each line text is an independent object which can be modified. Before typing text, you can specify the text style and the way to align at the prompt of creating text.
Press ENTER if you have typed some characters, and then the command line prompts to input characters for the next row of text. While creating single line text, you are also enabled to extend or compress certain single line text object in specified space to meet with your need by means of selecting Align or Fit option from the TEXT command line prompt.
To create text
- Choose Draw > Text > Single Line Text from the main menu.
- Specify the start point for the text.
- Specify the height of the text.
- Specify the text rotation angle.
- Type the text, and then press Enter at the end of each new line.
- To complete the command, press Enter again.

To specify the line text alignment:
- Choose Draw > Text > Single Line Text from the main menu.
- On the command line, type J (Justify) and press Enter.
- Type an alignment option BR to align text at its bottom-right corner.
- Type the text, and then press Enter at the end of each new line.
- To complete the command, press Enter again.

Create Multiline Text
Multiline text consists of one or more lines of text or paragraphs that fit within a boundary width that you specify. When you create multiline text, you first determine the paragraph’s boundary width by specifying the opposite corners of a rectangle. The multiline text automatically wraps so that it fits within this rectangle. After defining the text frame, the system opens the In-Place Text Editor, which is comprised of a text frame and the Text Formatting toolbar.
You can type text in the text frame and change the style from the Text Formatting toolbar.

To create multiline text:
- Choose Draw > Text > Multiline Text from the main menu.
- Select the first and second corner of the text area.
- In the Multiline Text window, type the text you want.
- To create paragraphs, press Enter and continue typing.
On the toolbar, make format changes as follows:
- To change the font of the selected text, select a font from the list.
- To change the height of the selected text, enter a new value in the Height box.
- T o apply color to the selected text, choose a color from the Color list.
- Click OK on the toolbar or Press <Ctrl + Enter>

Justify Multiline Text
You can specify the attachment point at the top left, top center, top right, middle left, middle center, middle right, bottom left, bottom center, or bottom right. The multiline text can flow left to right, right to left, top to bottom, or bottom to top.

Format Characters within Multiline Text
During creating multiline text, you can assign a new value to the selected objects to overlap the default setting. You can specify underlines, bold, color and fonts for a single or multiple characters, or different text height.

Indent Multiline Text and Use Tabs
You can control the appearance of text objects and create a list by specifying the tap stops and indenting text. The arrowheads on the ruler are used to define the indent of text (first line and paragraph).

Specify the Line Spacing
The line spacing of multiline texts is the distance between the baseline of one line of text and the baseline of the next line of text. You can right-click in the textbox and choose Paragraph to specify the desired line space when the cursor stays on the text frame.

Create Stacked Characters
Stacked text is text or fraction applied to mark tolerance or measure units. Before creating stacked text, you have to use special characters to indicate the stacked place for the selected text. The following contents present the special characters and illustrate how to create stacked text:

-Slash (/): Stacks text vertically and separates them with a horizontal line.
-Pound sign (#): Stacks text diagonally and separates them with a diagonal line.-Carat (^): Creates a tolerance stack, which is stacked vertically as well as not separated by a line. You can also use Stack button on the toolbar to create stacked text.
Discover more from Gstarsoft's Blog
Subscribe to get the latest posts sent to your email.


