How to create point objects?

Point objects can be used as nodes or reference geometry for object snaps and relative offsets. We can create a single point objects, multiple point objects and more.

Create a Point Object

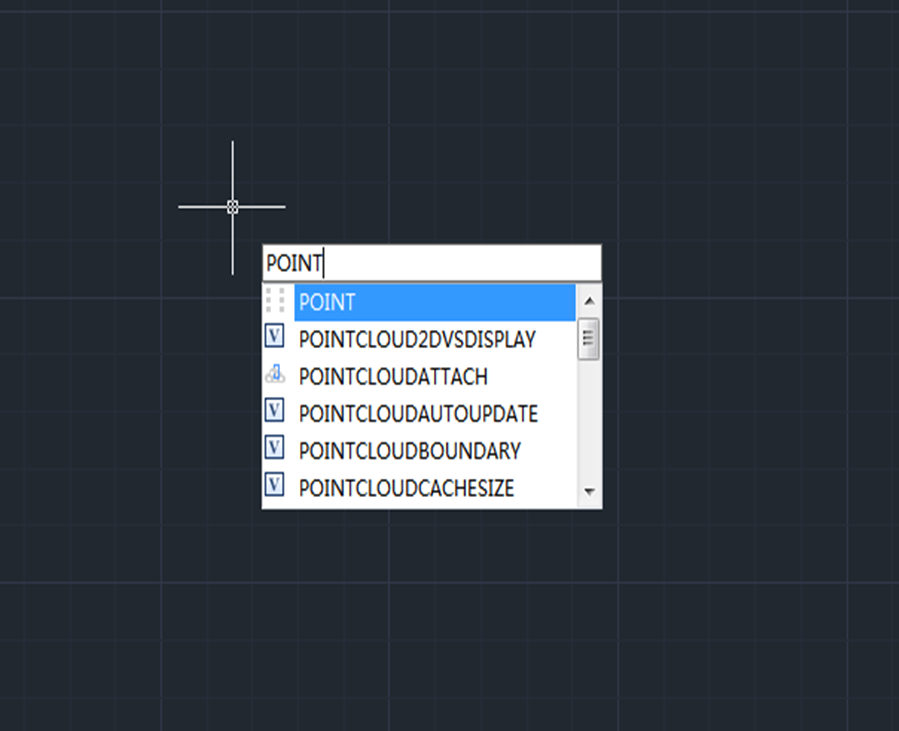
* To create a point object, we’ll need POINT command, just enter PO/POINT, shown as below,

How to create point objects?

* Another way is to find Draw > Point when using GstarCAD Classic workspace, shown as below,

How to create point objects?

Then when you’re prompted to specify the point location, just click on the drawing area. You can snap to a point using the Node object snap.

How to create point objects?

Create Multiple Point Objects

Creating multiple points is pretty much the same as creating a single point, except that you’ll prompted to continuously specify the points.

* To create multiple point objects, we can Enter POINT command, then select the Multiple option when prompted,

How to create point objects?

* Another way is to find Home tab > Draw > Multiple Points when using 2D Drafting workspace,

How to create point objects?

Set Point Style and Size

Before we create point objects, we’ll need to set point style and size for the points that we are going to create.

* Find Format > Point Style, shown as below,

How to create point objects?

Or enter DDPTYPE,

How to create point objects?

Press Enter key to pop up the following Point Style dialog box, there are 20 point styles to choose from and we can also specify a size, either relative to the screen or in absolute units.

How to create point objects?

Create points along an object

Divide: Create evenly spaced point objects or blocks along the length or perimeter of an object

How to create point objects?

Measure: Create point objects or blocks at measured intervals along the length or perimeter of an object

How to create point objects?

GstarCAD Blog

www.gstarcad.net

Related Posts

GstarCAD 2026 DWG Comparison: Boost Design Efficiency

GstarCAD 2026 has introduced a new DWG Compare tool designed to eliminate the manual effort of identifying revisions between drawing versions. By using the COMPARE command, the software automatically highlights additions in red, deletions in green, and identical elements in gray using revision clouds. This feature streamlines the proofreading process for architects and engineers, allowing for instant visual verification of changes across any DWG file.

How to Calculate CAD Area Quickly?

As a CAD designer, are you frustrated by the cumbersome and error-prone manual CAD area calculation? GstarCAD offers multiple efficient CAD area calculation methods!

Leave a Reply

Don't Miss out

Gstarsoft Showcases Integrated CAD + BIM Solutions at BIM World Paris 2026

  • April 3, 2026
Gstarsoft Showcases Integrated CAD + BIM Solutions at BIM World Paris 2026

Boost CAD Productivity with GstarCAD 2026’s XTP Import Feature

  • March 24, 2026
Boost CAD Productivity with GstarCAD 2026’s XTP Import Feature

Case study: How TopenTech Optimized Equipment Diagnostics and Field Productivity with GstarCAD

  • March 9, 2026
Case study: How TopenTech Optimized Equipment Diagnostics and Field Productivity with GstarCAD

The Ultimate Guide to GstarCAD Mechanical 2026: The Future of Manufacturing Design

  • January 30, 2026
The Ultimate Guide to GstarCAD Mechanical 2026: The Future of Manufacturing Design

GstarCAD 2026 DWG Comparison: Boost Design Efficiency

  • January 16, 2026
GstarCAD 2026 DWG Comparison: Boost Design Efficiency

How to Calculate CAD Area Quickly?

  • December 25, 2025
How to Calculate CAD Area Quickly?

Discover more from Gstarsoft's Blog

Subscribe now to keep reading and get access to the full archive.

Continue reading